Reservations: 307.699.5007
Book A Tee Time
Home
Tee Times
Golf Course
Course Information
Course Rates
Picture Gallery
Memberships
Player Development
Outings & Events
Outings & Events
Events Calendar
Contact
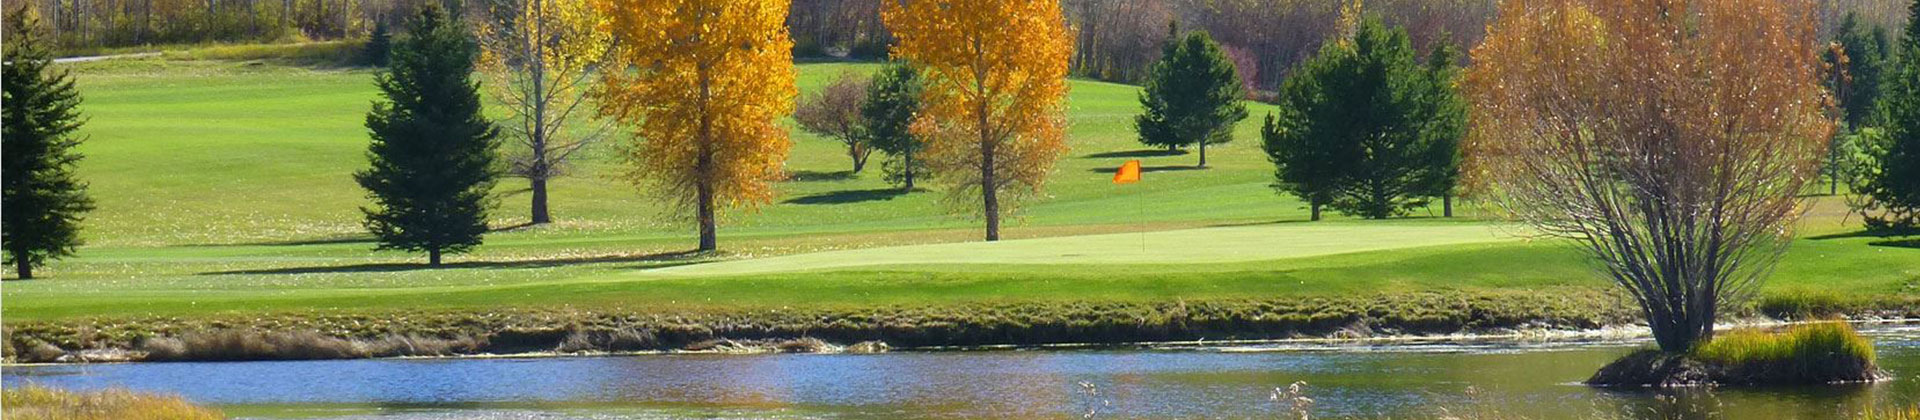
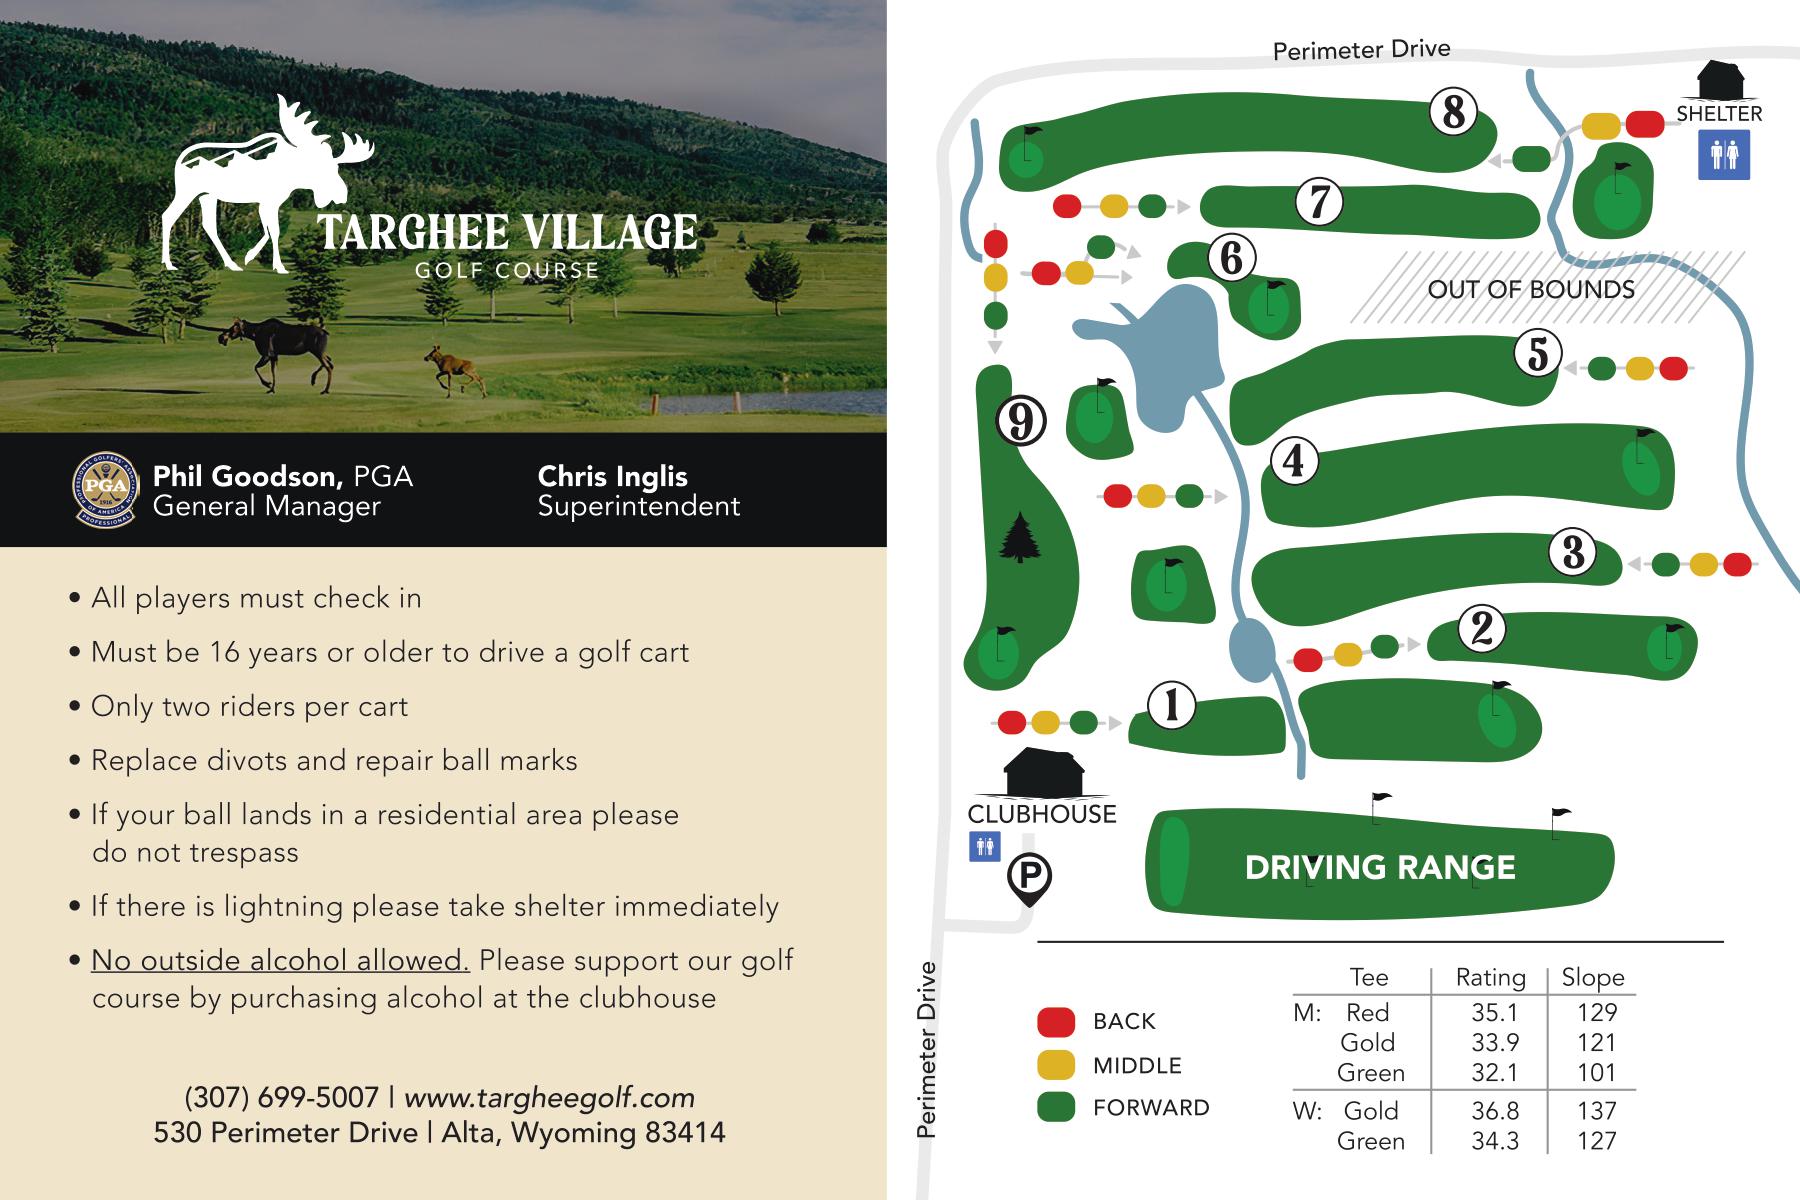
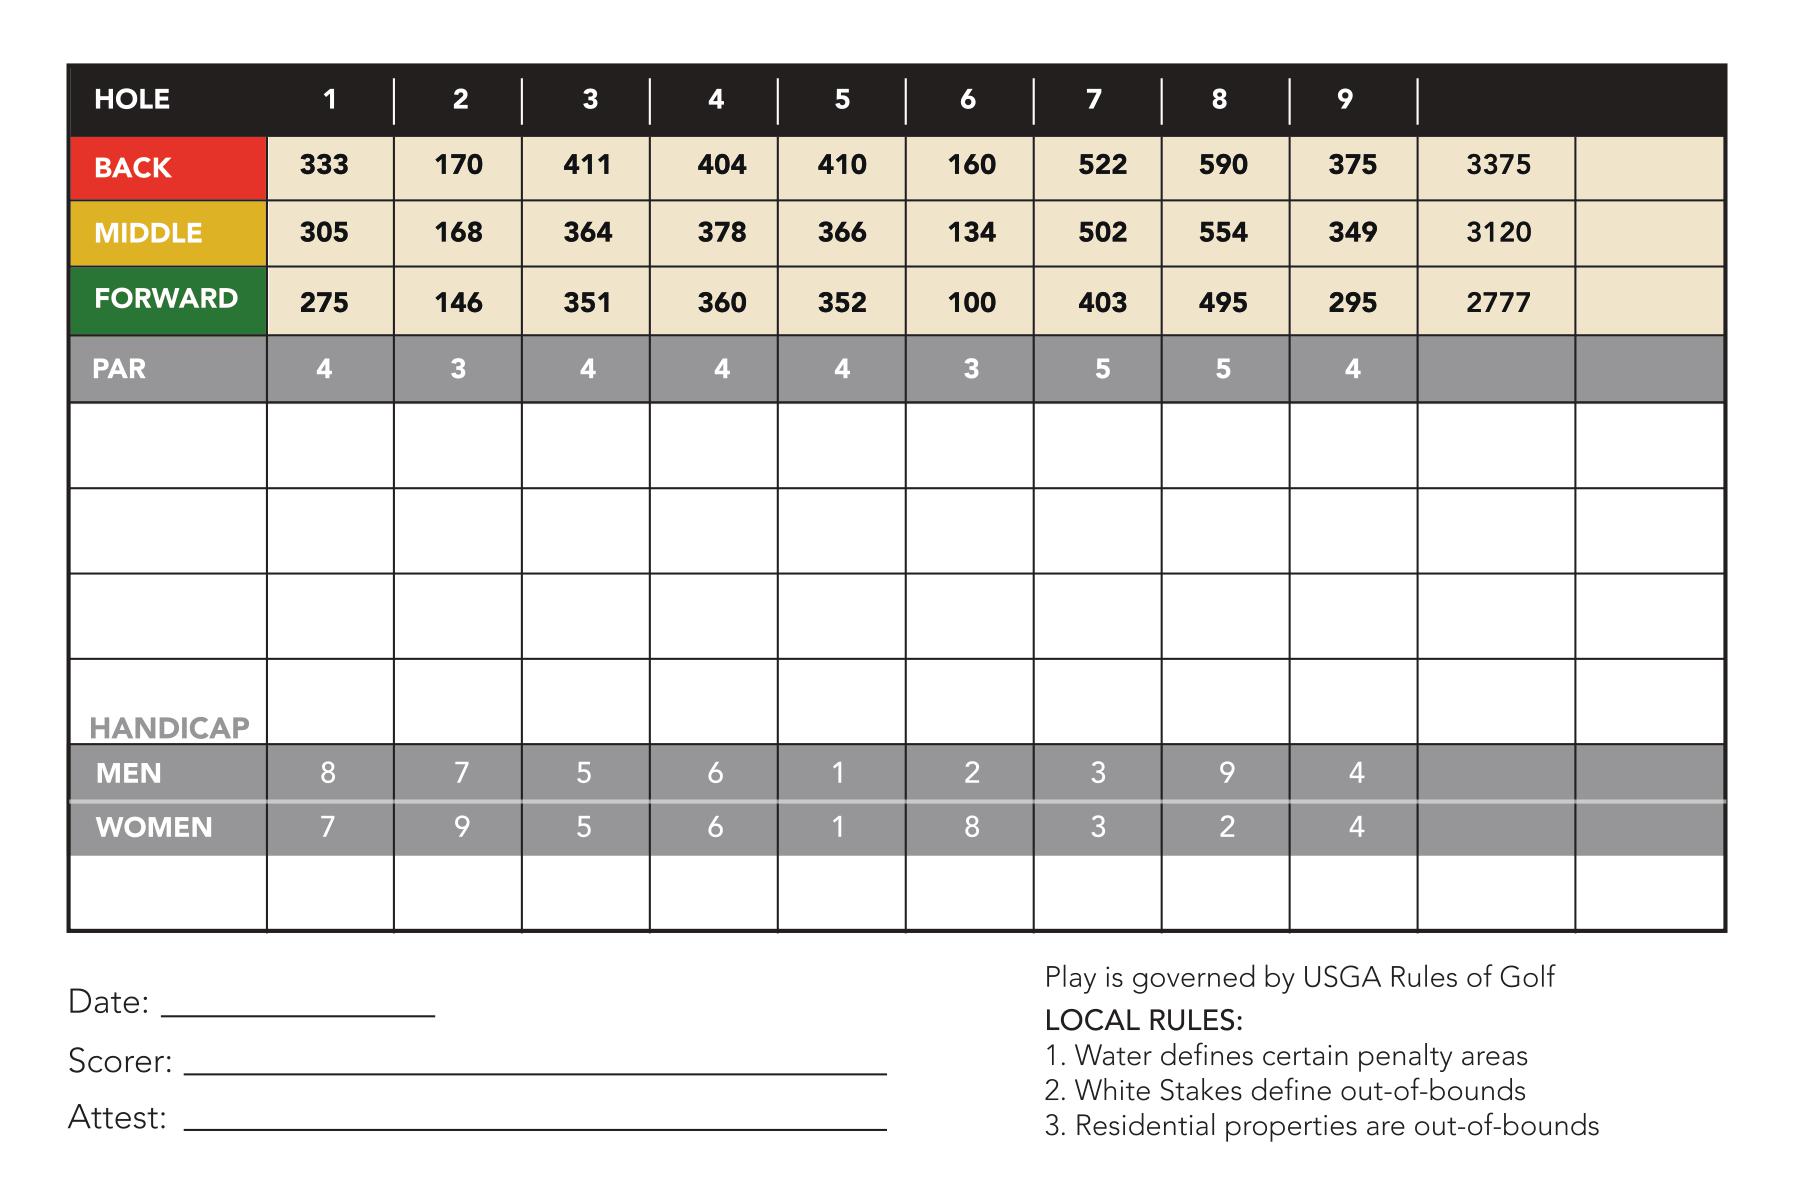
Course Information
Ready to Reserve your Spot?
Book Now
Close
Home
Tee Times
Food
Shop
Contact
Home
Tee Times
Golf Course
Course Information
Course Rates
Picture Gallery
Memberships
Player Development
Outings & Events
Outings & Events
Events Calendar
Contact
Reservations: 307.699.5007
Book A Tee Time